Nail stickers 101: Working from home means now's the perfect time to give it a try
If you have a sticky relationship with painted nails – Phase 2 (Heightened Alert) or not – staying at home’s the perfect time to find out if nail stickers live up to the hype.

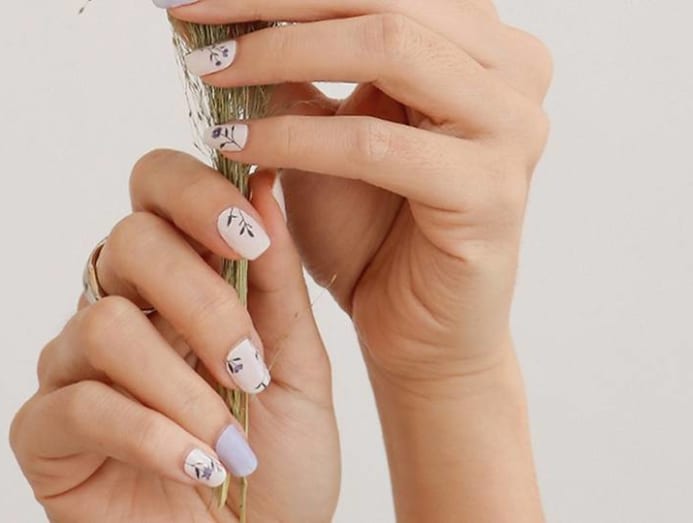
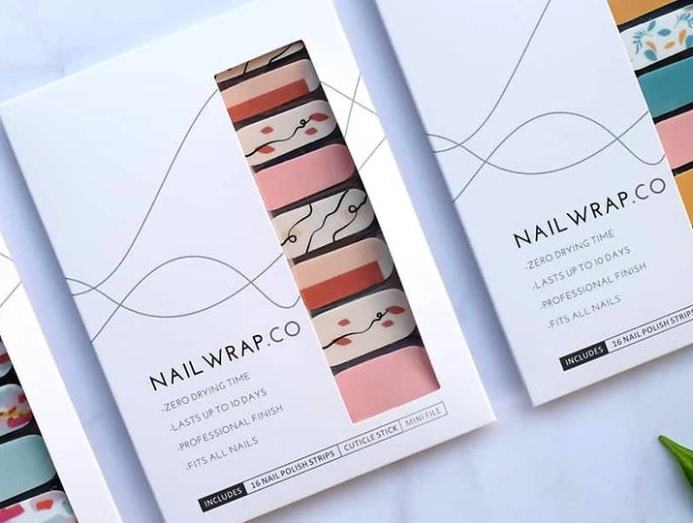
At home most of the time? Why not play around with nail stickers or wraps.(Photo: Instagram/nailedit.wraps)


With most of us spending more time at home these days, caring for our nails might be the last thing occupying our minds.
But let’s admit it – we miss looking down at those perfectly polished nails. And while we’re all thinking twice about heading to the nearest salon to get our nails done (it's still technically allowed), let’s not forget one alternative that’s actually perfect for these WFH times if you need a little something to spark some joy.
We’re talking about nail stickers, aka nail wraps.
As the name suggests, they’re stickers made from nail polish with an adhesive layer under it, and not to be confused with plastic press-on nails that will drop off after a day or two (unless you don’t wash the dishes).
READ: Beauty tips: How to maintain pretty nails until you can visit your manicurist
PAY LESS WITHOUT COMPROMISING ON LOOK
There are a few benefits. You could achieve the same gel manicured look without appearing “low budget”. Typically ranging from S$12.90 to S$19 for a pack of 16 to 30 nails, it is definitely the less expensive option when comparing with gel manicures that could range from S$22 to S$75 for a single appointment.
In addition, nail buffs would understand that asking for a different nail colour, embellishment add-on, or nail art design from your manicurist could push up the resulting price significantly.
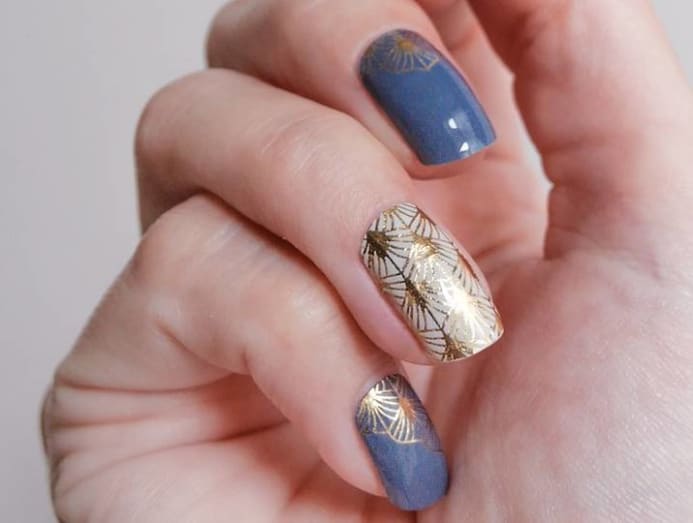
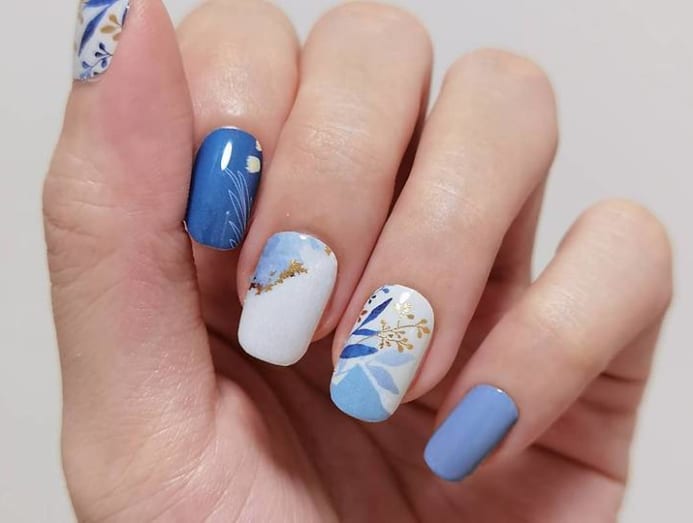
With a wide variety of nail sticker designs available – from minimalist to glitter – we could also opt for fancy ones that feature marble, gold accents and more, minus the heftier price tag.
SHAVE PRECIOUS MINUTES OFF DRYING TIME
There’s also the benefit of saved time. If you don’t fancy DIY-ing nails at home because of the waiting time for polished nails to dry, nail stickers allow you to stay away from unnecessary smudge drama without the wait.
All in all, the application process would only take 20 minutes, including a top coat to ensure they last for at least two weeks.
READ: Hollywood’s Eyebrow Queen on how to achieve the best brows for your face
MAKE APPLICATION AND REMOVAL A FUSS-FREE PROCESS
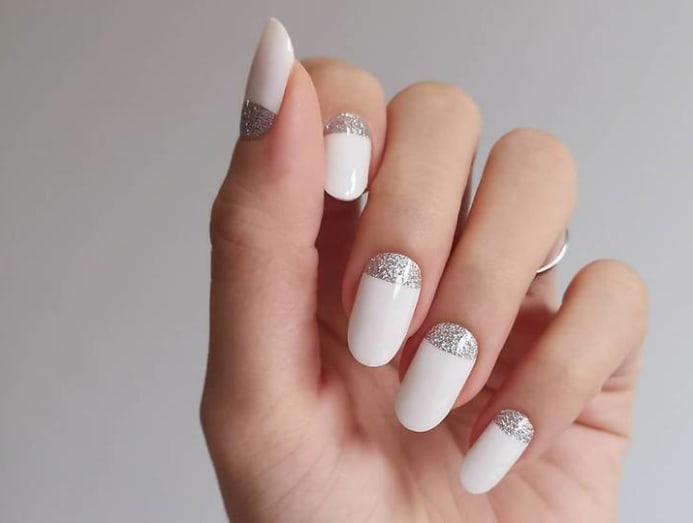
The hardest nail polish to remove might just be the glitter ones – unless it’s nail stickers, of course.
Application is as straightforward as can be: Simply paste the glitter-designed sticker onto the cuticle side of the nail. Removal is also as effortless as peeling off a sticker from the cuticle side. Alternatively, you could soak your hands in a bowl of warm water for easy removal.
You could also do away with nail polish removers which contain acetone – one of the biggest culprits of damaged and brittle nails.
And finally, your nails need not be exposed to the LED lamps that come with gel manicures (the UVA rays have been linked to premature skin ageing).
PLAY MIX-AND-MATCH WITH A WIDE VARIETY OF COLOURS AND DESIGNS
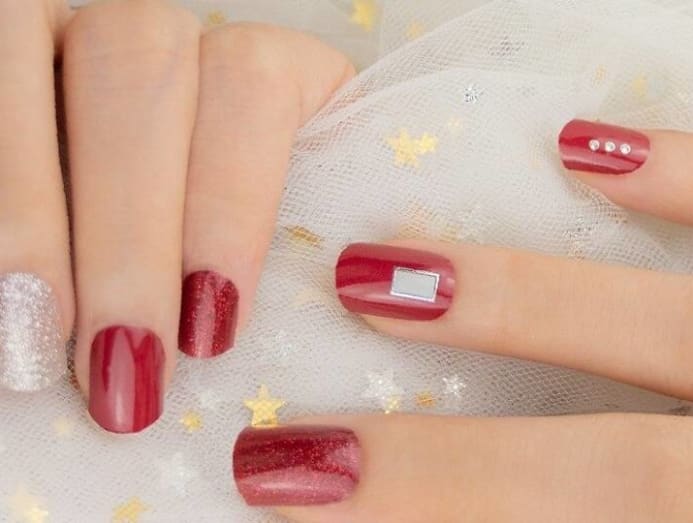
One of the things that we like to do is buy at least two packs (with a similar colour theme) and mix them up later on. The more variety, the better, right? This also gives the illusion of spending more on your manicure.
The only limitation is that there are different nail sizes for each design. For example, if a specific design that you fancy is shaped the thinnest, then it makes most sense to only paste it on your pinkie finger (and not your thumb).
A STEP-BY-STEP APPLICATION GUIDE
1. Clean each nail gently with the alcohol pads provided.
2. Select the nail sticker according to the right size and peel it off from the plastic film.
3. Paste onto the nail starting from the cuticle side.
4. Press down the sticker and even it out to avoid wrinkles.
5. Use the mini-buffer provided to remove excess sticker by placing it at a perpendicular position from the centre before filing it downwards.
6. Repeat steps 1-6 for all the nails.
7. Apply top coat (non-gel ones work as well) to ensure a long-lasting finish for up to three weeks. (Note: You can opt to use the gel top coat and UV LED lamp too, but in our books, you could do away with them.)
WHERE TO GET THEM
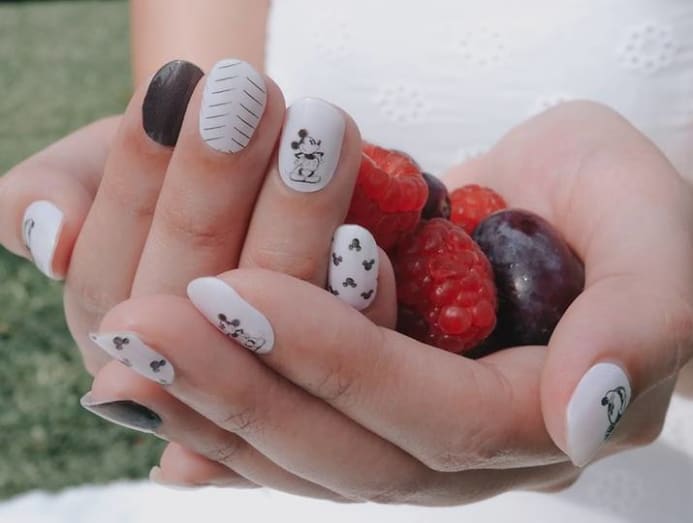
There are easy options for you to get your hands on them without stepping out of your house. While Singapore brand Nailwrap.co offers pedicure wraps and rolls out "nail wraps of the week" promos with discounted designs, we also love Nodspark’s creative eye on collaborative collections (check out its latest tie-up with Disney). Another local brand that we look to for modern and clean designs is Nailedit by Thea. We especially appreciate the soft hues and abstract patterns too.
Designed in Korea, MUSE & Co’s Glitzy Gel Strips should also be on your radar for not only being affordable (30 nails for S$13.90) but for featuring a beautiful mix of muted solids, glitter and bold patterns. You can also find them at selected Tokyu Hands stores in Singapore. We’ve also spotted Dashing Diva at selected Watsons stores.